

In this guide, I’m breaking down how to use AI to create cinematic transitions. AI that feels tasteful, not slop.
Like this Hong Kong transition video I posted a few weeks ago, which generated 2.6M+ views, 10K+ followers, 22K+ comments, and a ton of creative fulfillment.
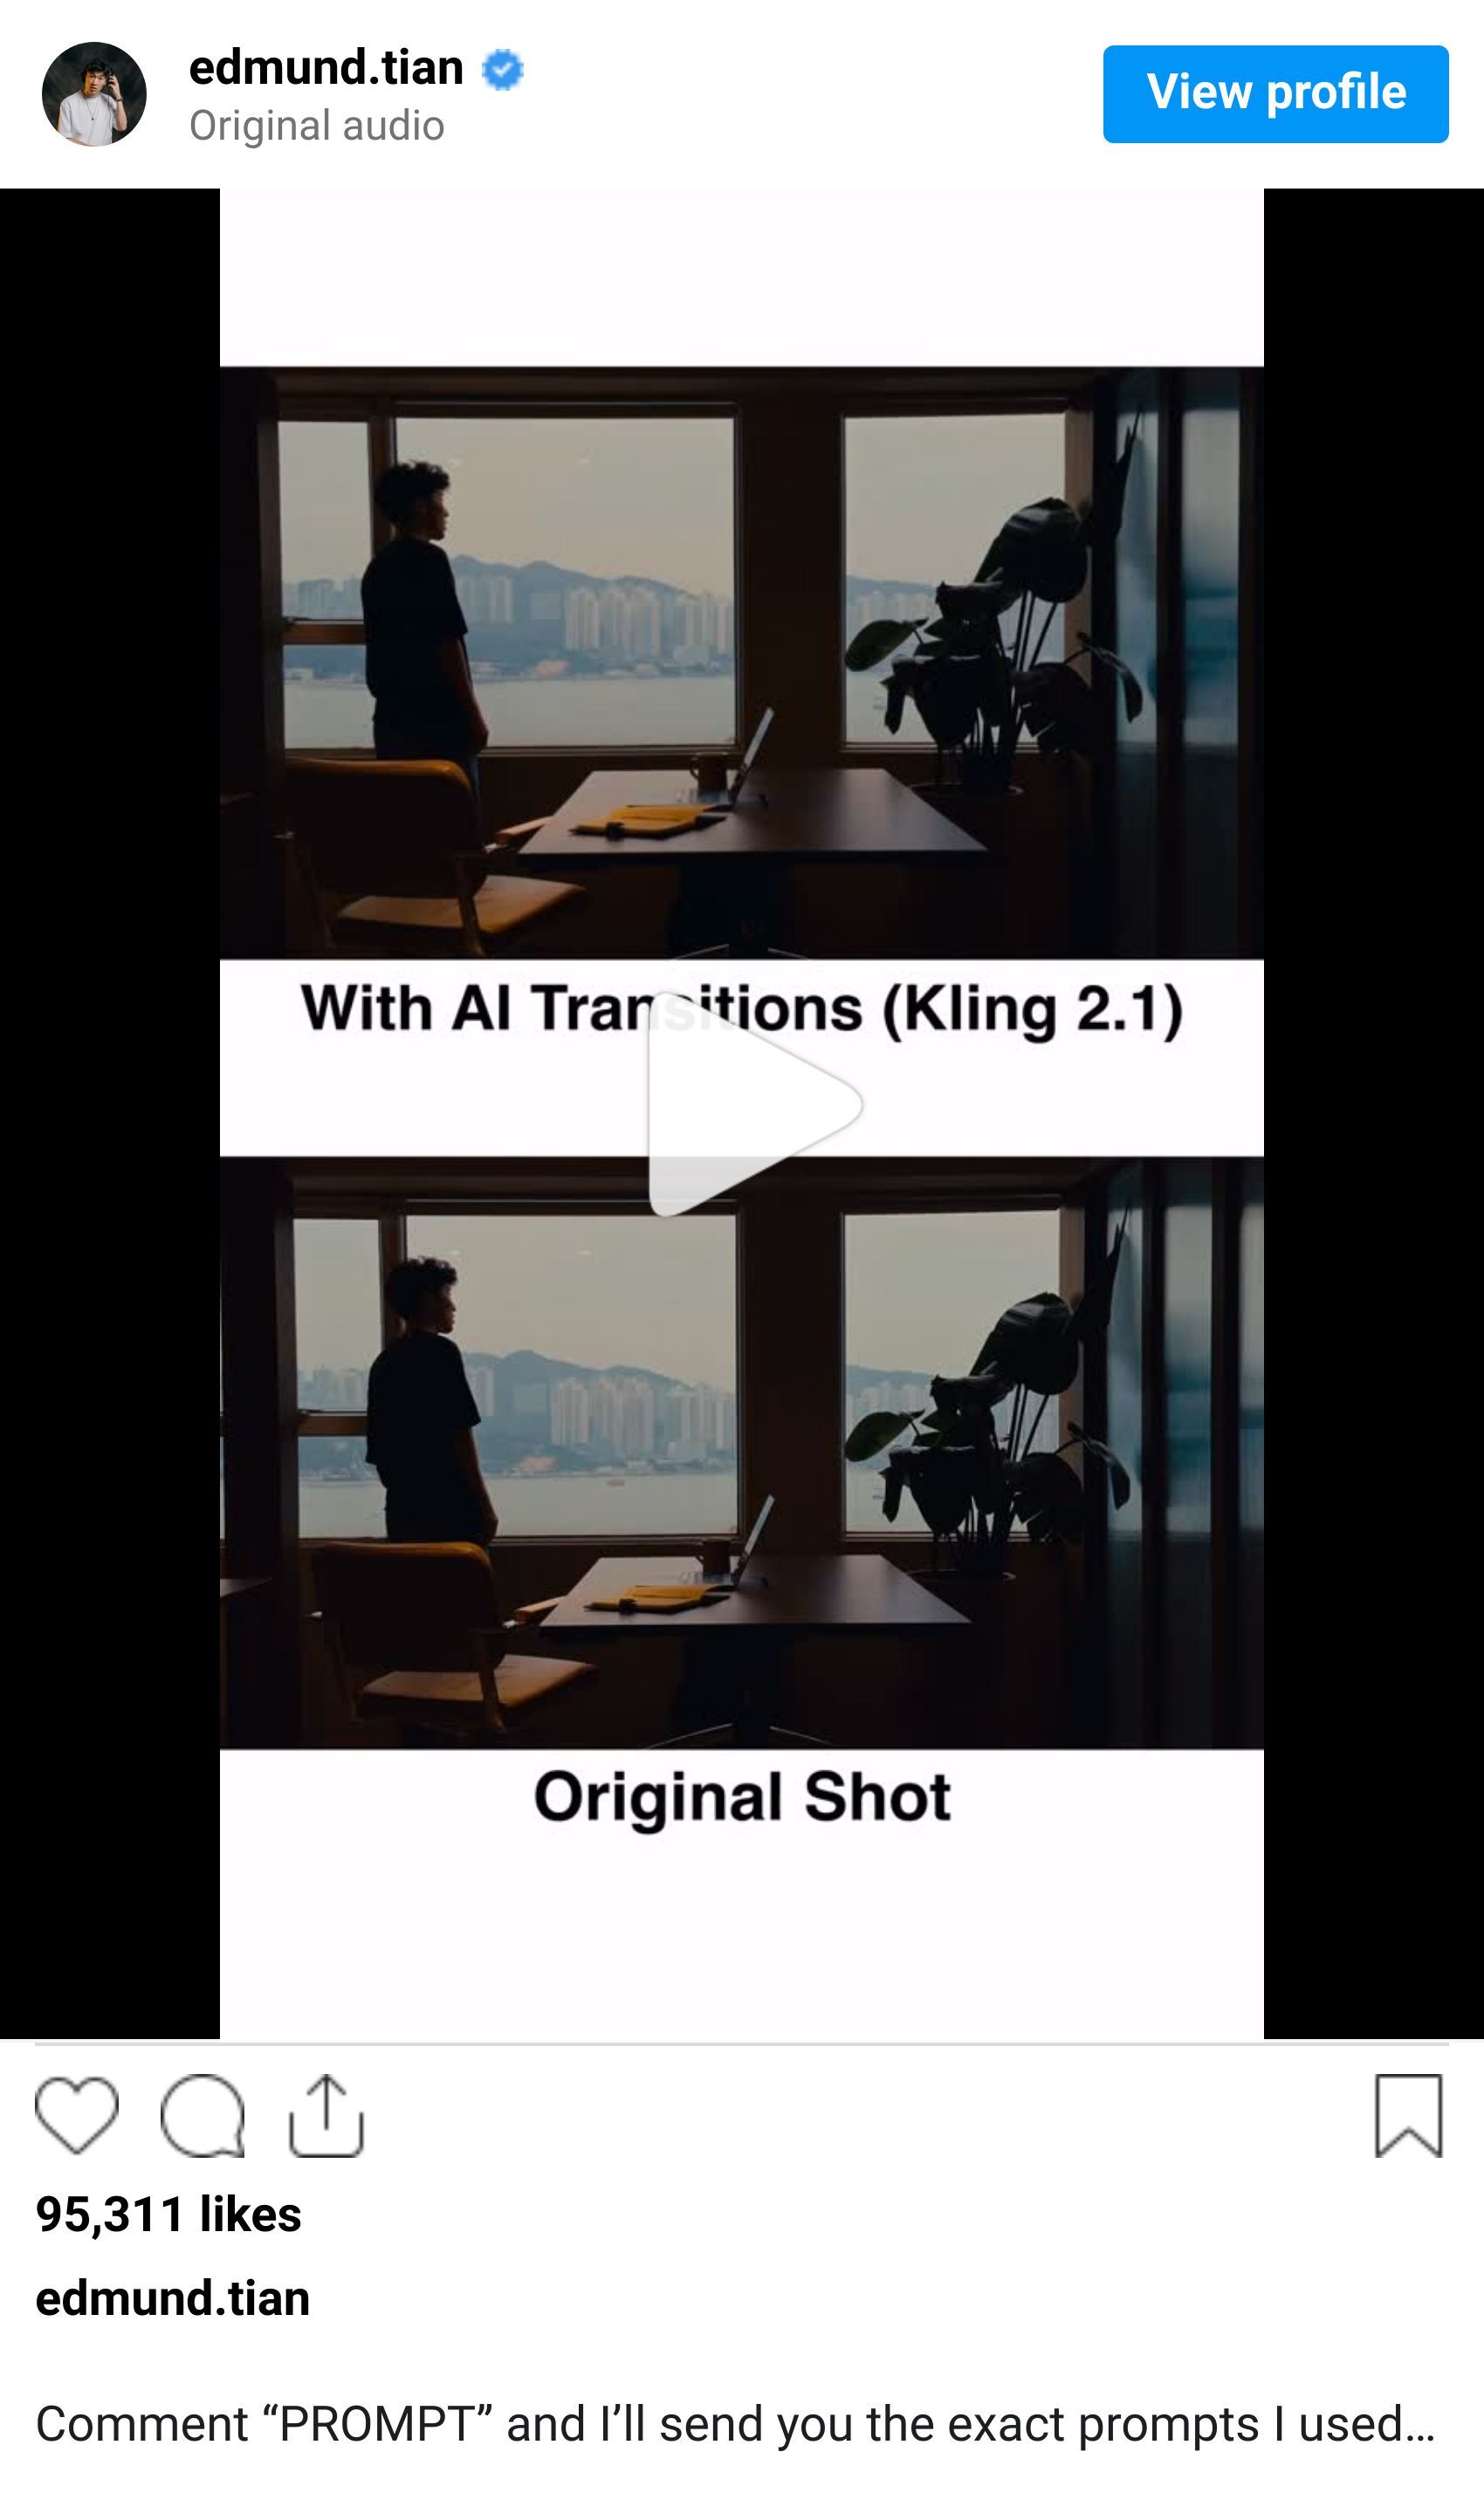
But first, what makes these transitions “cinematic”?
It really comes down to intention.
Objects don’t just randomly fade in and out. Instead the objects and the camera move in a way that makes sense. This is the difference between art and slop.
Rewatch the gif at the top of this guide. Pay attention to the way:
the subject (me) is constantly in the frame
the NY skyline moves out of frame
the trees come into frame
Let’s walk through creating this yourself.
How to create cinematic transitions with AI
Step 1. Curate clips
The first and most important step is curating the clips to transition between.
I’ve found that AI creates the best transitions in two scenarios.
Scenario #1: There is some shared element between the start and end frame
You can prompt AI to keep that element in frame during the entire transition, making it feel real.
e.g. Both of these shots have me sitting on a concrete ledge, wearing the same outfit.


Scenario #2. There is stark contrast between the start and end frame
Contrast keeps the viewer engaged and on their toes.
e.g. The first frame is shot during the day and creates a feeling of openness. The second frame is shot at night, and the towering buildings and army of buses creates a claustrophobic feeling.


Disclaimer: much of the success of creating these beautiful transitions starts with filming beautiful shots. This requires understanding composition, lighting, and color grading. These topics are out of scope for this tutorial, but if you’d like me to cover these filmmaking principles in future guides, reply to this email with “film”.
Step 2. Create your transition
I’ve tried most video models, and I found the best for generating these kinds of transitions is Kling 2.5.
Navigate to your platform of choice, select Kling 2.5, input your start and end frame, and then type the below prompt.
Btw, I’ve created a tool called Cine AI where you can do this yourself. No prompt necessary, just drag and drop your images and click “generate”. Try it for free here.
Or use your platform of choice and paste the following prompt.
**Create a seamless, cinematic transition between Image 1 and Image 2.**

Start fully inside Image 1, then guide the camera into a natural motion path that logically leads toward the transition point. Maintain consistent lighting, depth, and perspective so the viewer feels physically carried from one scene to the next.

Use **smooth blending of colors, shadows, and textures**, and ensure that surfaces and objects morph gradually and believably. The transition should feel like a continuous camera move, not an effect.

Keep the aesthetic **cinematic, realistic, and polished**, with:

- physically accurate camera movement,
- stable motion and depth,
- natural environmental lighting,
- high-resolution textures.

Your goal is to **make the cut invisible**, as if the camera is traveling through one continuous world that naturally evolves into Image 2.

[insert additional instructions here]
Step 3. Choose music
You have your outputted video, and you’re 80% done.
But you’re still missing the last few elements that make these transitions tasteful.
The first of these elements is music, which creates emotion and rhythm.
For my Hong Kong transition video, I was feeling inspired by Wong kar-wai movies. I chose the song “California Dreamin’”, which he uses iconically in his film Chungking Express.

Step 4. VFX polishing
Now it’s time to combine your clips and polish. I do all my editing in Davinci Resolve. It’s the best video editor out there, hands down.
The first thing I do is apply speed ramping to make the transitions match the rhythm of the music / video.

Next, apply motion blur to hide AI imperfections and bring the transitions to life. I use either the “Directional Blur” or “Zoom Blur” effect depending on the shot.

Step 5. Sound Effects
The glue that ties everything together and makes you feel the transitions.
For these transitions, you need a mix of:
Ambiance - Sounds that makes you feel like you’re inside the scene. Wind blowing in trees, honks honking, birds chirping.
Accents - Sounds that makes you feel the transition happening. Whooshes, risers, debris falling.
I download all my SFX from Artlist and Youtube, and I do all my sound design manually. It’s worth investing in this skill because AI won’t be able to automate this anytime soon (it’s too nuanced). Plus, it’s fun :)

And there you have it
Your cinematic AI transition that can enhance any video you make: travel vlogs, short films, documentaries, the possibilities are endless.
Hopefully I’ve helped convince some of you that AI can be beautiful.
While AI does create a ton of slop, it’s also the most powerful creative tool in human history. My goal is to help you understand this tool and leverage it to bring your vision to life.
More to come!
